
HyperFrames Student Kit: Make Claude Code Edit Your Videos
Seen Claude editing videos and wondered how to do it yourself? Explore Nate Herk’s HyperFrames Student Kit, with installation steps, optional costs and prompts for your first video.
HyperFrames Student Kit: Turn Claude Code Into a Video Editor
You watch Claude turn a recording into a polished video. Then you open Claude yourself—and have no idea where to start.
The missing piece is the workflow behind the demonstration: the project files, editing instructions, rendering tools and assets that turn a request into an actual video.
HyperFrames Student Kit is Nate Herk’s downloadable workspace for editing videos with Claude Code or Codex. It brings editing skills, examples and motion-graphics resources together around HyperFrames, HeyGen’s open-source video framework.
If you came looking for Nate Herk’s HyperFrames GitHub link, start here:
Download the HyperFrames Student Kit on GitHub.
This guide explains what you get, how to install it, which costs are optional and how to approach your first edit. It is based on the project’s public documentation, checked on 27 September 2026; it is not an OpsMavix hands-on benchmark.
What is HyperFrames Student Kit?
The Student Kit is a prepared video workspace. Its documented features include transcript-based cuts, silence removal, reviewed mistake removal, captions, short-form editing and reusable motion graphics.
The current repository includes 406 draft motion-graphics cards, two scene templates and teaching projects you can inspect. Those resources give the assistant a starting structure for your video.
There are three separate parts to understand:
| Part | Its role |
|---|---|
| Claude Code or Codex | The coding assistant you instruct to work on the project. |
| HyperFrames | The framework that turns web-based compositions into rendered video. |
| HyperFrames Student Kit | Nate Herk’s workspace of skills, scripts and examples for applying that approach to editing. |
The Student Kit repository is the right starting point if you want to follow Nate’s workflow. The main HyperFrames repository is the underlying framework.
Why are people connecting HyperFrames with Claude video editing?
In his recent video-editing demonstration, Nate Herk shows Claude Code and HyperFrames producing several formats, including an intro, a showreel and a short advertisement. He also links the Student Kit used to support the process.
The useful idea is that a video can be treated as an editable software project. HyperFrames represents compositions using HTML, CSS, media and animation, then renders the result through a browser-based pipeline.
That gives a coding assistant something concrete to change. A request such as “keep this caption on screen longer” becomes a timing change in the project. “Use the same layout for the next product” becomes a reusable composition.
The official HyperFrames documentation describes this code-to-video model. It still depends on the quality of your source material, instructions and review.
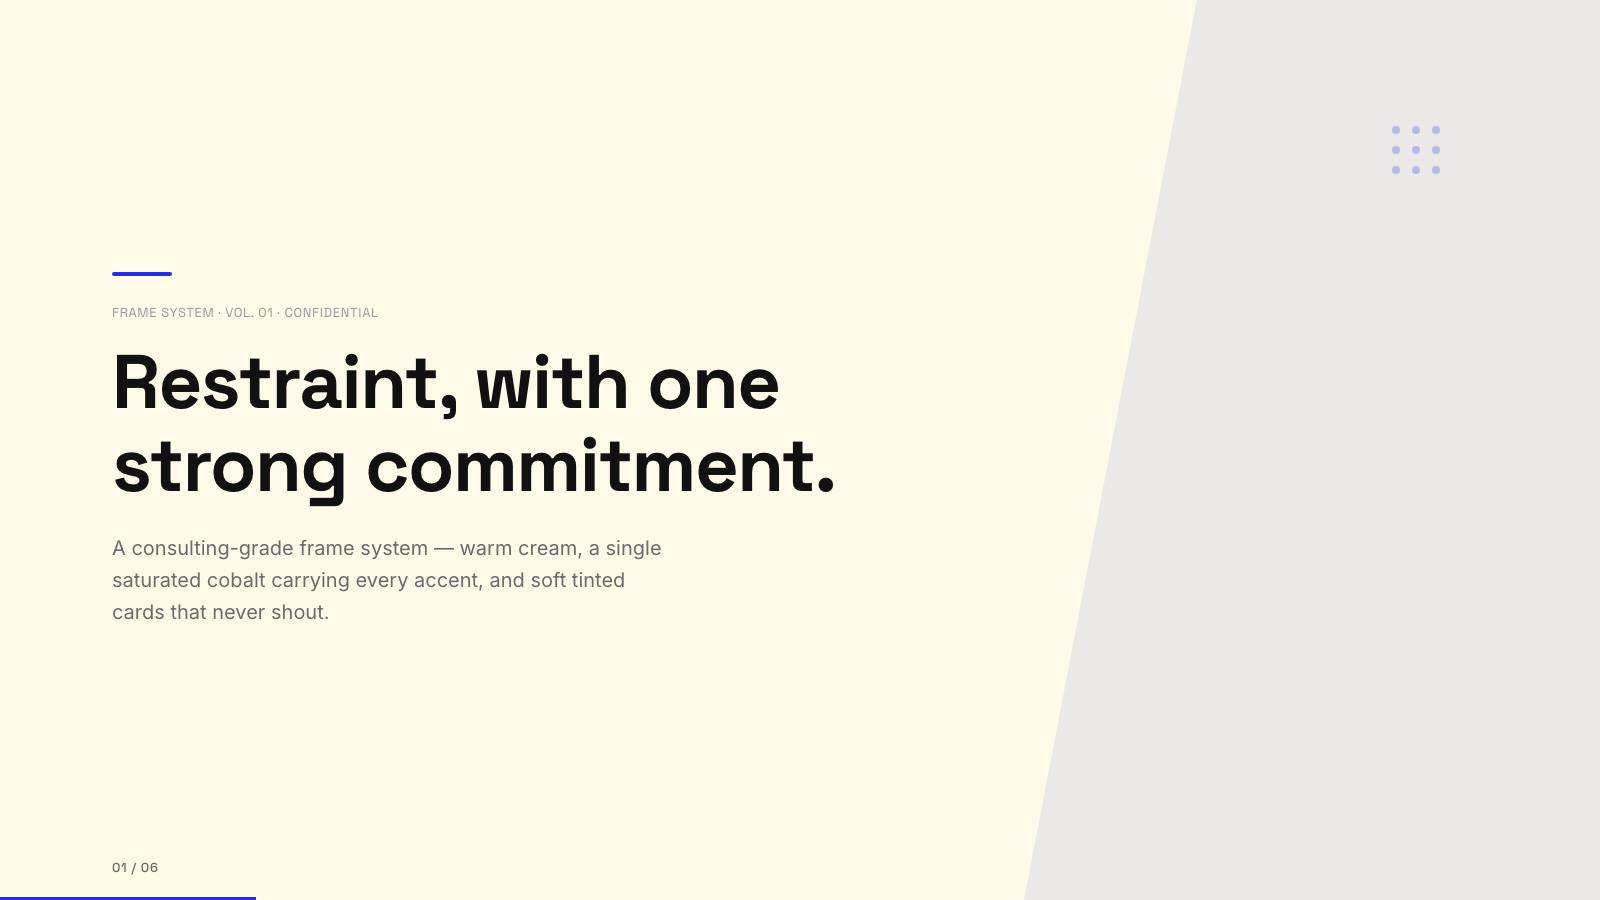
Image: Blue Professional, an official HyperFrames design example. This illustrates the wider framework’s design options; it is not a screenshot of the Student Kit or an OpsMavix test.
Is HyperFrames Student Kit free?
You can download the kit publicly. The included synthetic starter can be previewed and rendered without purchasing transcription or image-generation credits. Your complete editing workflow may still involve paid services.
The project’s tools and API guide separates those costs:
| Component | What to budget for |
|---|---|
| Claude Code or Codex | Your own access to the coding assistant. |
| Local starter and rendering | Your computer and the required local software. |
| ElevenLabs Scribe | Your account, API key and transcription usage, if selected. |
| OpenAI Whisper API | Separate API billing, if selected as your transcription provider. |
| Local Whisper | Local installation, model downloads and computing resources. |
| Kie.ai | Optional credits for generated images or video assets. |
| Music, fonts and stock footage | Any licences needed for assets you choose. |
Start with the synthetic demo and your existing footage. Add a paid service when you have a specific need for it. That makes the cost of each step easier to understand.
How to install HyperFrames Student Kit
1. Install the required tools
The current setup guide requires Node.js 22 or newer, FFmpeg with ffprobe, and Chrome or Chromium. You also need Git to clone the repository and npm to install its dependencies.
Open a terminal and check the main tools:
node --version
npm --version
git --version
ffmpeg -version
ffprobe -version
If a command is missing, install that tool before continuing. On Windows, reopen your terminal after installing FFmpeg so it picks up the updated PATH.
2. Download and prepare the kit
Run the installation commands from the current repository instructions:
git clone https://github.com/nateherkai/hyperframes-student-kit.git
cd hyperframes-student-kit
npm ci
npm run setup
npm test
Keep the supplied dependency lockfile. The kit is built against particular dependency versions, so an unplanned upgrade can introduce an extra variable when troubleshooting.
3. Render the starter before editing your footage
From the repository root:
npm run demo
cd video-projects/demo
npx hyperframes lint
npx hyperframes preview
Review the demo in the browser. Stop the preview process with Ctrl+C, then create a draft:
npx hyperframes render --quality draft --output renders/demo.mp4
The starter is a short animation without voiceover. Its purpose is to establish that preview and rendering work on your machine before you introduce transcription, source footage or external services.
How to edit your first video with Claude Code
Use a short recording with clear speech and one obvious message. A one-minute explanation of a product feature is a more manageable first project than a folder containing an entire event.
The kit’s editing workflow starts with a separate project. From the repository root, run:
npm run new-video -- first-edit
Place a copy of your recording at:
video-projects/first-edit/assets/raw.mp4
Open the repository folder in Claude Code. Here is an OpsMavix example prompt to adapt:
/edit-video

Work on video-projects/first-edit/assets/raw.mp4.

Audience: business owners who need to understand one product feature.
Goal: explain the feature clearly in a short, watchable video.

First inspect the project and tell me which transcription method is
configured. Keep the original recording intact.

Prepare a proposed edit with unnecessary pauses and repeated attempts
identified. Let me review any cuts that could change the meaning.

Use restrained captions and graphics. Keep the speaker visible.
Use my supplied assets, and ask before adding a paid service.

Render a draft for review and list anything that still needs checking.
This is a starting brief, not a promise that one prompt will produce a finished edit. Refine the draft with specific feedback: name the timestamp, explain the problem and describe the intended change.
One detail matters throughout: captions must follow the edited timeline. The official workflow uses retimed transcripts after cuts. Reusing timestamps from the original recording can put captions and graphics in the wrong place.
Can it make Reels and YouTube Shorts?
Yes. The kit documents a short-form-edit workflow for vertical videos, with a default output size of 1080 × 1920. In Claude Code, the skill is invoked as /short-form-edit; the Codex equivalent is $short-form-edit.
For example:
/short-form-edit

Create a 30-second vertical draft from my product demonstration.
Choose one useful takeaway for a business owner.
Propose three opening hooks that accurately reflect the recording.
Use readable captions, keep the product visible and finish with
one clear next step.

Use only the footage and brand assets I provide.
Show me the proposed structure before rendering.
The short-form guide also distinguishes a vertical composition from a separately designed landscape version. Ask for each layout explicitly; a centre crop can lose important visual information.
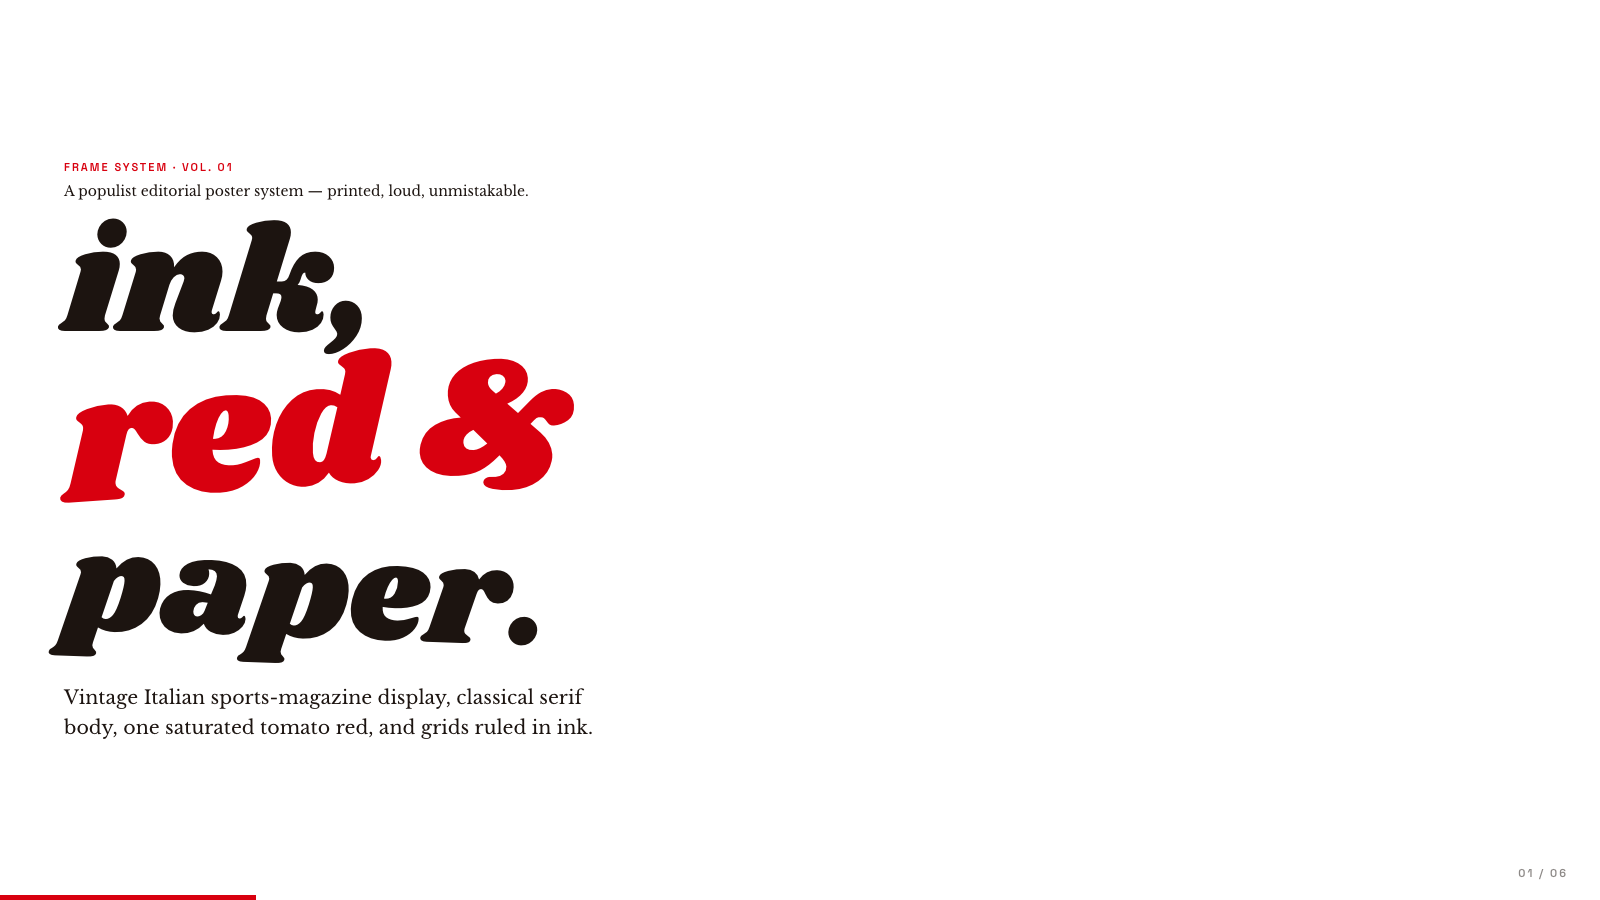
Image: Bold Poster, an official HyperFrames design example. Use references like this to explain your preferred visual direction; it is not presented as a bundled Student Kit template.
Common setup problems and what to check
| Problem | First check |
|---|---|
| FFmpeg is not recognised | Confirm installation and PATH, then reopen the terminal. |
| Preview or rendering cannot find a browser | Run npx hyperframes doctor; consult npx hyperframes browser --help for browser setup. |
| The assistant cannot see the skills | Open the repository root in the correct coding assistant and check its project-loading instructions. |
| ElevenLabs transcription fails | Check authentication, available usage and the key’s speech-to-text permission. |
| Captions drift after cuts | Use the transcript that matches the edited footage. |
| A silent source fails in a cutting stage | The documented cutting renderers expect both a video stream and an audio stream. |
The setup guide and editing workflow provide the relevant diagnostics. Changing an API key alone does not convert the bundled ElevenLabs helper into a Whisper integration; alternative providers need their own configuration.
What the impressive demos do not tell you
A successful render confirms that a file was produced. It does not establish that the story works, the captions are accurate or the audio is comfortable to listen to.
The kit’s verification notes document specific checks and their limits. They also explain that the retained historical examples were not all rendered again during the consolidation of the kit.
Before publishing your own result, watch it from beginning to end and check:
- Whether cuts preserve the speaker’s meaning.
- Whether names, figures and product claims are correct.
- Whether captions remain readable on a phone.
- Whether graphics obscure the speaker or product.
- Whether music, speech and transitions sound right together.
Treat the first export as a review copy. The most useful measure is how much work remains before you would confidently put your name on it.
Frequently asked questions
Where is the official HyperFrames Student Kit download?
Use Nate Herk’s GitHub repository. Follow its current README when downloading or updating the project, because the instructions can change.
Can I use it inside the normal Claude chat window?
This guide covers the repository’s documented Claude Code workflow: the assistant works with local project files and tools. A normal chat conversation by itself does not perform the installation and rendering steps described here.
Do I need ElevenLabs and Kie.ai?
They are optional service choices. The provider guide describes alternatives for transcription, and you can supply existing media instead of generating new assets.
Is it suitable for someone who has never used a terminal?
Expect a learning curve. Start by getting the supplied demo to render. If installing dependencies and resolving command-line errors feels like too much overhead, include that setup time when deciding whether this workflow fits your needs.
Where this becomes useful for a business
Our recommendation is to test one repeatable format: a product update, a customer onboarding clip or a short explanation of a common support question.
Keep the brief consistent. Record how long the draft takes, how much correction it needs and what the complete workflow costs. That gives you a basis for deciding whether to repeat it.
The broader opportunity is a process your team can reuse: an approved script, the right assets, a predictable output and a clear review step.
If disconnected tools and repeated manual work are slowing down more than your content production, explore OpsMavix’s business systems. We help growing businesses build software around the way their operations actually work.